Repco Cabin Air Filter - Anti-Viral
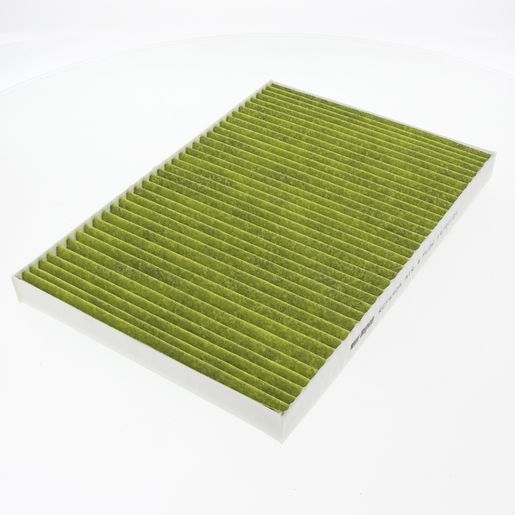
Repco · Part number RCF690A · NZ$85.00 incl. GST
That dodgy smell when you flick on the AC isn't just your car's 'character' – it's a blocked cabin filter brewing mould, plain and simple. We're talking the same five minutes and twenty bucks that a workshop will happily sting you eighty for. Because 'air quality' sounds like a luxury, not just good ol' basic car upkeep.
Price
NZ$85.00 including GST. Part number RCF690A.
Fits these vehicles
Description
That Musty Whiff? Twenty Bucks and Five Minutes – Sorted!
If you've noticed a bit of a musty, stale smell when you crank up the car's AC or heater, or if the airflow feels a bit gutless, chances are your cabin filter's the culprit. This little beauty, often forgotten, cleans the air heading into your car, catching all the dust, pollen, and other nasties. Over time, it gets clogged up, leading to weak airflow, those dodgy smells, and a build-up of allergens.
The Secret They Don't Want You to Uncover
Workshops often tack on cabin filter replacement with other services, charging an arm and a leg for a job that's incredibly simple. They might try to tell you it's all about 'air quality' when, let's be honest, it's more about their bottom line. The truth is, swapping out a cabin filter is often as easy as opening a glove box or popping off a small panel – something any Kiwi DIYer can knock over in minutes.
Why Bother Changing Your Cabin Filter?
• Fresher Air: A clean filter means cleaner air inside your car, cutting down on allergens and pollutants that can mess with your health, especially if you're a bit sensitive to that sort of thing.
• Better HVAC Performance: A clogged filter chokes the airflow, making your AC and heating systems work harder and less efficiently. A fresh one restores proper airflow and gets things humming again.
• Banish the Pong: Say goodbye to that musty smell and hello to fresh, clean air inside your vehicle.
Installation
How you change your cabin filter will be a bit different depending on your vehicle. Always check your car's owner's manual for the exact lowdown. Usually, it only needs basic tools and about 5 to 10 minutes of your time.
1. Find the cabin filter compartment (it's often behind the glove box or tucked under the dashboard).
2. Open it up and whip out the old filter.
4. Close the compartment back up.
Unlock Your Inner DIY Legend
With just a screwdriver and ten minutes, you'll realise this is just another bit of car upkeep you can easily handle yourself, saving you a stack of cash on those workshop prices. Sorted, eh?
---
🛠️ Bob's Pro Tip: Do the Job Right!
> If you're replacing this cabin filter, make sure you've got the right workshop prep, protection, and safety gear ready. Taking a bit of extra time and using the proper safety stands and cleaners makes all the difference for a professional result!
🧰 What Else You'll Need:
• Safety First: Always secure your vehicle on heavy-duty safety jack stands before working underneath. Never rely solely on a hydraulic jack.
• Clean Hands: Keep a pack of Nitrile Gloves handy to protect your skin from grease, oils, and chemical sprays.
• Preparation: Have microfibre towels and a suitable parts cleaner nearby to keep components clean during installation.