TRW DTEC Ceramic Brake Pads Set (DB1199)
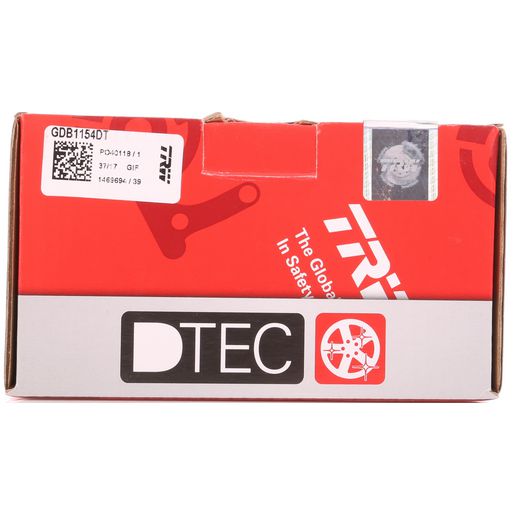
TRW · Part number GDB1154DT · NZ$199.00 incl. GST
For your trusty 4x4, whether it's a Toyota Land Cruiser or a Hilux Surf, these brake pads are the absolute business, converting all that kinetic energy into stopping power to keep you safe and sound on our Kiwi roads, no matter how tough the terrain; the TRW option is a super robust choice.
Price
NZ$199.00 including GST. Part number GDB1154DT.
Fits these vehicles
- Toyota
- Toyota 4 Runner (1988–1995)
- Toyota 4 Runner (1990–1995)
- Toyota Hilux (1979–1983)
- Toyota Hilux (1995–1998)
- Toyota Hilux (1997–2000)
- Toyota Hilux (1998–2000)
- Toyota Land Cruiser (1984–1992)
- Toyota Land Cruiser (1990–1992)
- Toyota Land Cruiser (1990–1992)
- Toyota Land Cruiser (1990–1992)
- Toyota Land Cruiser (1990–1996)
- Toyota Land Cruiser (1990–1997)
- Toyota Land Cruiser (1990–1997)
- Toyota Land Cruiser (1990–1997)
- Toyota Land Cruiser (1990+)
- Toyota Land Cruiser (1992–1997)
- Toyota Land Cruiser (1992–1997)
- Toyota Land Cruiser (1995–1997)
- Toyota Land Cruiser (1999–2004)
Description
Brake Pad Replacement Guide — Let's Get Those Brakes Sorted with TRW!
> Right then, let's talk about brake pads. They're like the unsung heroes of your rig, designed to wear down as they create all that vital friction against your brake rotors. For those classic, rugged 4x4s like your Toyota Land Cruiser or Hilux, which see everything from the morning school run to gnarly off-road tracks, having top-shelf brake pads isn't just a good idea—it's non-negotiable for keeping you and your whānau safe with reliable stopping power.
Symptoms That Led You Here — Time for a Check-Up?
• Hearing some squealing or grinding when you hit the brakes?
• Is your brake pedal feeling a bit 'spongy' or less effective than it used to be?
• Getting a bit of a shimmy or shake through the steering wheel or pedal when braking?
• Noticing it takes a bit longer to pull up than before?
• Got a warning light flashing on your dash about low brake fluid or worn pads?
Will it pass WOF?
Nope, not a chance! Vehicles with brake pads that are too worn will absolutely fail a Warrant of Fitness (WOF) inspection here in New Zealand. The WOF check is pretty strict about brake pad thickness and the overall health of your braking system—all to make sure you're safe on the road.
DIY or Workshop? — Your Call, Mate!
Difficulty: 6/10 (Moderate — a solid afternoon's work)
Estimated Time: 1-2 hours per axle (grab a cuppa halfway through!)
Tools Required: A good sturdy jack, reliable jack stands (safety first!), wheel nut wrench, C-clamp or brake caliper piston compressor, spanner/socket set, wire brush, brake cleaner, torque wrench, safety glasses, and some decent gloves.
🛠️ Bob's "Get It Done Right" Companion Checklist
Before you dive in, let's make sure you've got everything you need to do the job safely and properly. Bob always says, "A little prep saves a lot of hassle!"
• Stay Safe, Team! Grab some safety glasses and a good pair of heavy-duty nitrile gloves. You don't want brake dust in your eyes or on your hands — it's nasty stuff.
• Cleanliness is Key: A can of brake cleaner is your best mate here. It'll blast away all that carbon dust and gunk, leaving your components sparkling clean for assembly.
• Smooth Operator: Don't forget some quality anti-seize caliper grease. A little dab on the caliper pins ensures everything moves freely and quietly.
• No Old Rusty Bolts!: If you're dealing with older components, a squirt of rust penetrant might save you a world of pain trying to free up stubborn bolts.
Expert Recommendation — Bob's Top Tips
Bob @ CARFIX reckons you should always replace your brake pads at the first hint of wear. It's a no-brainer for keeping you safe and stops you from damaging those much pricier bits like your brake rotors. These TRW GDB1154DT brake pads? They're a ripper choice for the tough conditions your Toyota Land Cruiser or Hilux faces, giving you reliable performance and solid durability. Bob @ CARFIX is always here for a yarn and to help you figure out exactly what part your Toyota Land Cruiser or Hilux needs. Pop into Bob's Shop for a chat — he's always got the kettle on!
Fitment Notes — Double-Check Before You Wrench!
These brake pads are specifically designed for a whole bunch of Toyota Land Cruiser, 4Runner, and Hilux Surf models, stretching from the late 80s right through to the early 2000s. Always, always do a quick double-check of your vehicle's exact year, model, and engine type against the fitment list. There can be a fair bit of variation within the Land Cruiser and Hilux lines over those decades, so let's make sure you get the perfect match!
Bob's your uncle, you're sorted!
---
🛠️ Bob's Pro Tip: Do the Job Right!
> If you're swapping out these brake pads, don't skimp on proper workshop preparation and safety products. Doing the job right the first time protects your investment, saves massive workshop labor fees, and guarantees a quiet, smooth ride!
🧰 What Else You'll Need:
• Safety First: Never work under a vehicle supported only by a jack. Always secure it on heavy-duty safety jack stands.
• Brake Dust Protection: Brakes get incredibly dirty. Keep a pack of Nitrile Gloves handy to protect your hands from stubborn brake dust.
• Clean and Prep: Use a high-quality Brake Cleaner spray to blast away stubborn dust, oil, and road grime from the caliper assembly and new rotors before reassembly.
• Lubrication: Apply a thin smear of high-temperature caliper grease to the pad backing plates and slide pins (keep it off the pad friction material!) to prevent squeals and ensure smooth caliper operation.